
How To: Build Stock using HHT2
- Log in to the HHT device.
- Press the
 button.
 - Enter or Scan the stock code of the parent item to be built and press the
 button:
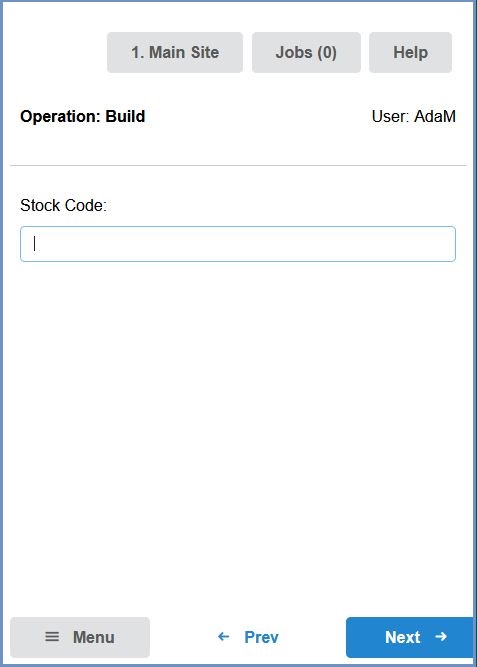
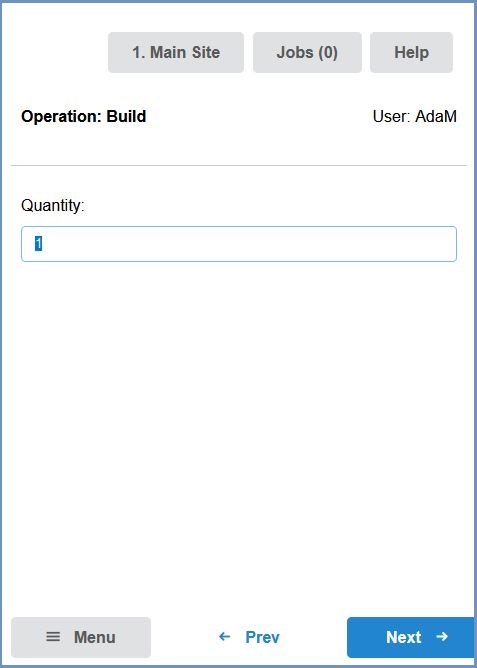
- Enter the quantity of the stock item to be built into the Quantity field and press the button:
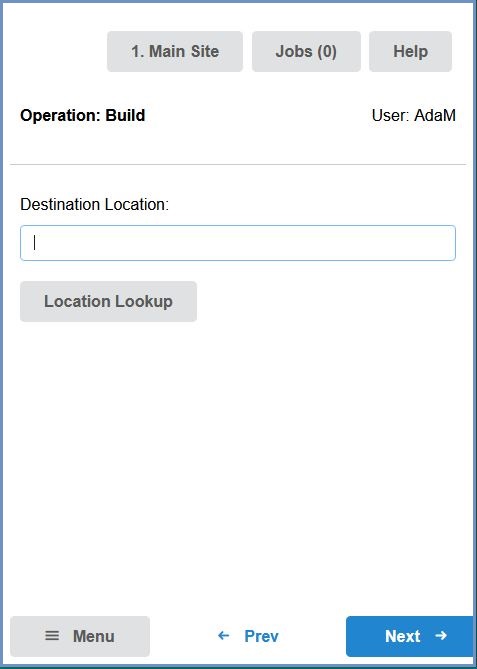
- Enter or scan the warehouse location where the built item is to be put away in the Destination Location field. The Location Lookup button can also be used if required to select a suitable location:
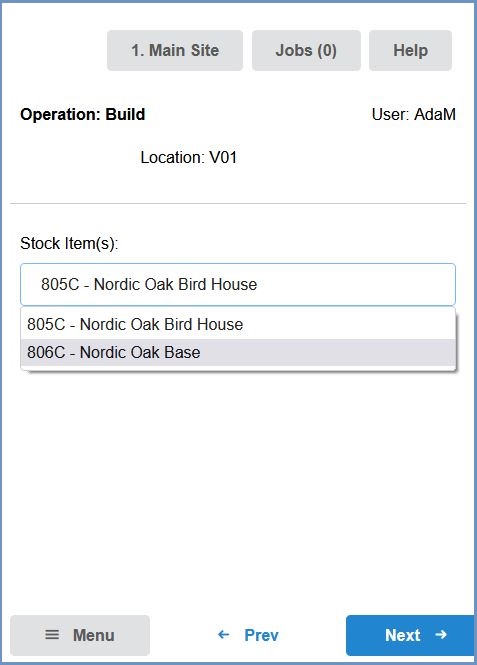
- Scan or enter the stock code of the first build component required for the build. Press the Build Helper button to select the component from a list, if required:
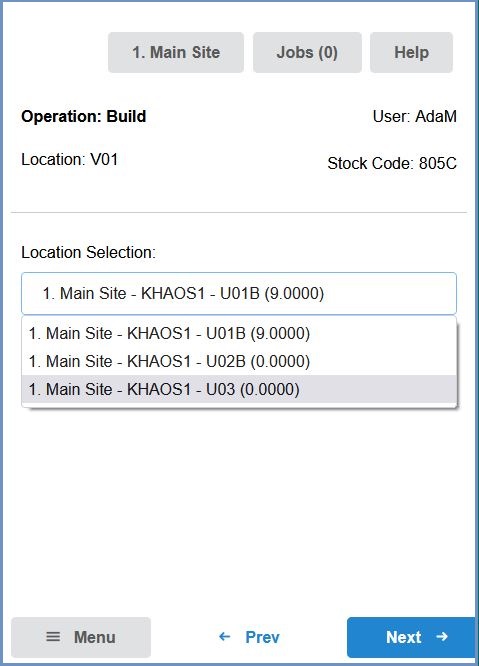
- Select the location from which to pick the component from the Location Selection drop-down and press the button:
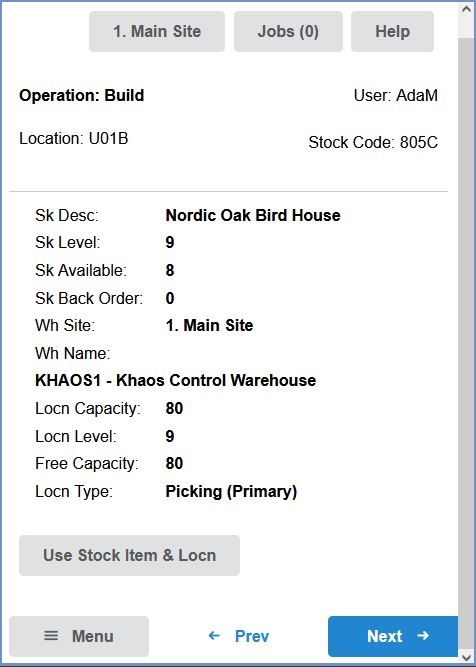
- Verify the location to be used by pressing the Use Stock Items and Loc'n button and press the button:
- To pick the next component, press the
 and repeat the process for the remaining component(s). Once the build is complete, press the
  button.