
How To: Customise the options displayed in the Info Panel for Stock
| |
|
|---|
The Info Panel enables the user to separately configure the desired options for stock allowing access to any fields stored against child items within the selected documents for example the supplier information for stock items and the sites stock is located in, see How To: View the Site Location of Stock in the Info Panel.
- Open the
[ Stock ]screen and focus on any stock record. - Right-click on the bottom-half of the panel and click 'Select Fields'.
- Click on the
 button.
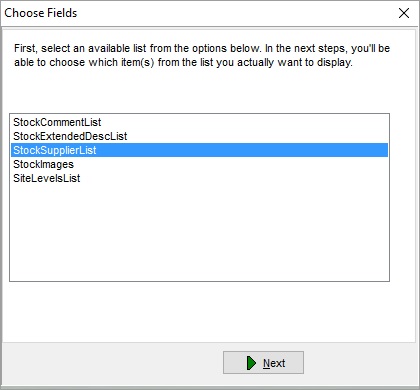
 - In the Choose Fields dialog select the option you wish to configure, in the example below it is the StockSupplierList:
- Click on the
 button.
 - In the next Choose Fields dialog click on (default) to display the fields in the right-hand side panel:
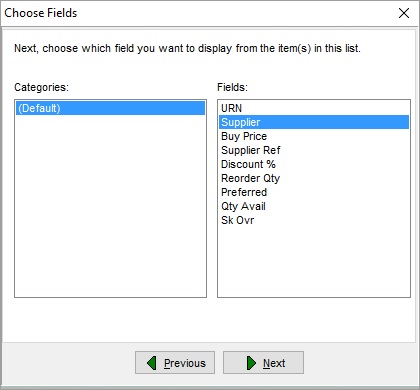
- In the Choose Fields dialog select the option you wish to configure, in this case Supplier.
- Click on the button.
- In the next Choose Fields dialog:
- Click on (default) to display the fields in the right-hand side panel.
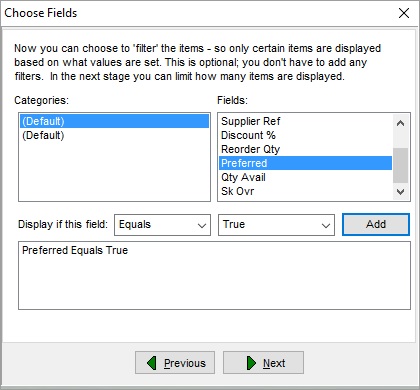
- In the Choose Fields dialog:
- Select the field you wish to configure, in the example above this is Preferred.
- In the Display if this field drop-down select as appropriate from:
- Equals (as per the example)
- Does Not Equal
- Either enter the value in the adjacent field or select from the drop down option, in this case True.
- Click on the
 button to add the value below.
- Click on the button.
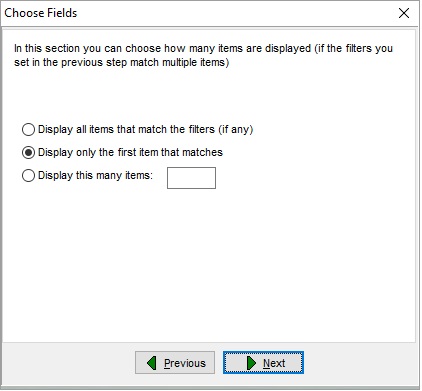
- In the next Choose Fields dialog the user can choose how many items are displayed if the filters configured in the earlier sections have multiple results:
- Click on the button.
- The system describes the options you have configured and allows the user to make any changes using the
 button.
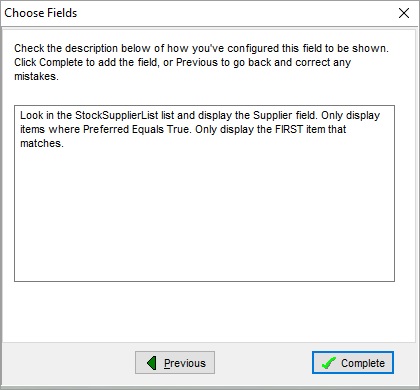
- Click on the
 button.
 - Continue editing the Info Panel or click OK to close the dialog.
See Also
- "File" menu
- System Data - Users
- System Data - User Profiles
- Stock
- Command Window
- Khaos Control overview