How To: Select a different location when booking goods in when using HHTs
When booking goods into the warehouse using HHTs (see How To: Book Goods In using HHTs and How To: Book in Goods with Date Stamps when using HHTs) and the user needs to change the location from the one suggested by the system or add one if one has not been suggested, the user can either:
- Scan the new location into the field; or...
- Find any empty locations and select from one of those displayed.
Scan the new location
- Start booking in the items, see How To: Book Goods In using HHTs and How To: Book in Goods with Date Stamps when using HHTs to the Locations screen.
- Scan the location barcode where the goods being booked in will be stored.
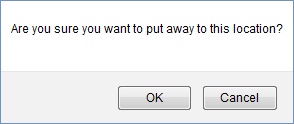
- In the dialog select OK.

- Continue to book the goods in as described in How To: Book Goods In using HHTs and How To: Book in Goods with Date Stamps when using HHTs.
Find an empty multi-stock location
- Start booking in the items, see How To: Book Goods In using HHTs and How To: Book in Goods with Date Stamps when using HHTs to the Locations screen.
- Click on the
 button.
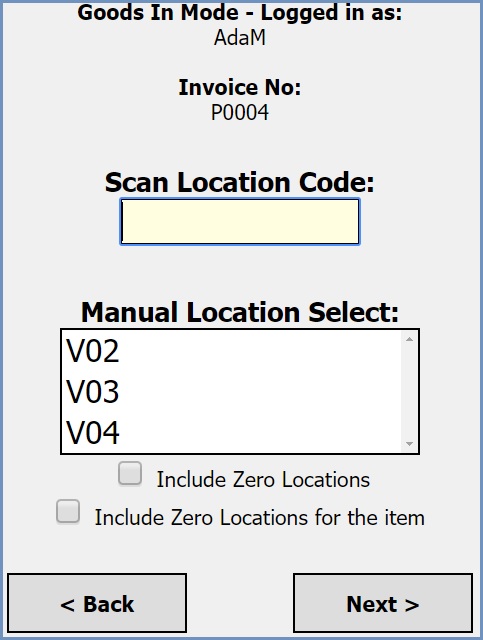
 - The Manual Select Locations area will only display locations where the stock item is currently being stored. To change this view the following options are available;
 :Include Zero Locations: Shows all locations that currently have no stock in them.
 :Include Zero Locations for this item: Shows all locations that are currently associated with the current stock item, but have no stock in them at present.
Note If the Include Zero Locations checkbox is ticked, then toggling the Include Zero Locations for this item checkbox will have no effect on the search results. 
- Either manually enter the location code or click on it in the list and Enter to load the next screen.
- Continue to book the goods in as described in How To: Book Goods In using HHTs and How To: Book in Goods with Date Stamps when using HHTs.
