How To: Bring options to the front so they can be seen
- WARNING: Before making changes to ANY of your Basic Report templates it is advisable to take a backup.
| | Basic Reports is an Advanced User feature. |
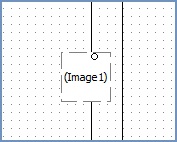
This page explains the process of making sure an element in a Basic Report that is partly hidden can be seen. In this scenario the line needs to come to the front and appear over the 'image':
Note: before making changes it maybe useful to:
- Make a backup of your reports.
- Try this out on your testing system to ensure that the changes are as required before implementing it in your live system.
| |
|
|---|
- Follow the menu route
[ System Operations | Basic Reports Setup ]to open the "Basic Reports Setup" dialog. - From the dialog's
[ Reports List ]tab, double-click on the type of report you wish to configure. - If you are setting this up for a specific brand, focus on the brand on the left.
- Click on the
 button on the right.
 - The report is opened in design view. Before you make any changes select Save As... from the file menu, to make sure you do not overwrite the original template.
- Close the design screen to take you back to the Basic Reports Setup dialog.
- Check that the report is saved in the Report Template Path at the bottom.
- Click on the
 button on the right.
 - In the report:
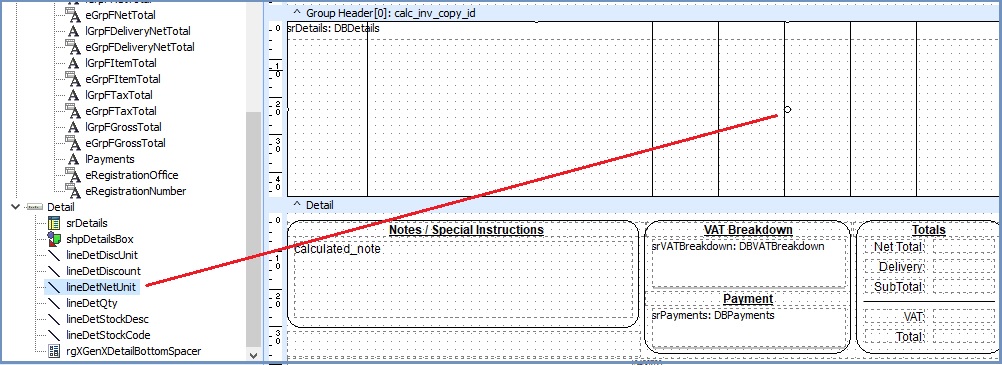
- In the Report Tree panel on the left, you should be able to identify the object that you wish to bring to the front. If you click on it, the object will be selected in the report (see the image at the bottom of the page).
- Click on the Bring to the Front button on the right of the top bar:

- Click File then Save.
- Close the report.
- Click OK in the Basic Reports dialog.
- Test that the changes have been made successfully.
The other buttons in this area that can help are:
 : brings the selected item forward.
 : sends the selected item back.
 : sends the selected item to the back of the items/options it is in front of.
Selecting an object in Basic Reports

