How To: Pick Batches when using New HHT
Picking batches when using HHTs is a two step process:
- Create a batch and move the Sales Orders into the HHT Picking stage in the Sales Invoice Manager.
- Pick the stock items for the sales orders in the batch using the HHT.
Create Batches and moving the Sales Orders to the HHT Picking Stage
- Open a Sales Invoice Manager screen.
- Filter for the sales orders you wish to create batches for.
- Green-select the Sales Orders and click on the
 button at the bottom of the screen.
 - Select the packaging item you wish to create batches for.
Notes:- The number of invoices per batch will depend on the packaging item selected and the number of invoices that packaging item can be batched into as setup in
[ System Data | Packaging Options ]. - When selecting the packaging option [Standard Values (Picking Location)], the selected Invoices will first be placed in order of the earliest alphanumeric Picking Location which is assigned on the invoice; invoices will then be split into the batches required to generate the Batch Picking Sheets.
- The number of invoices per batch will depend on the packaging item selected and the number of invoices that packaging item can be batched into as setup in
- When the Picking/Despatch Note and Batch Picking Sheet appear the Move selected invoice(s)' dialog will appear.
- Click on the
 button and close the reports.
 - The sales orders have now been moved to HHT Picking and are now available to pick.
Pick the Sales Orders using the HHT
- Log in to the HHT device.
- Click on the
 button.
 - Scan the Batch Code number or enter manually. Then press the
 button.
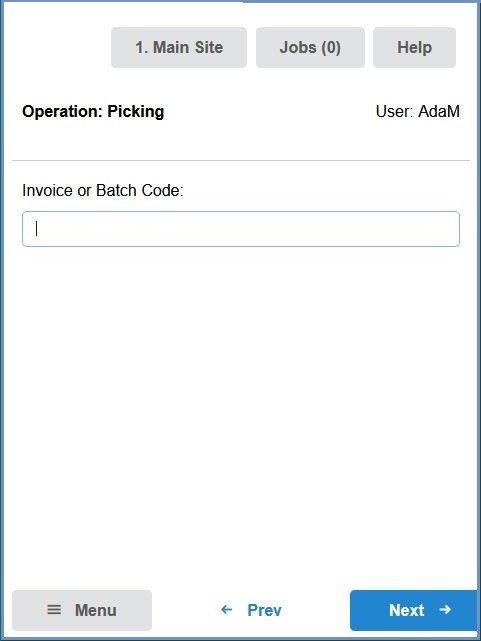 .
.
- The recommended pick location for the first item will be displayed, and this is then selected in the Location Selection drop-down. An alternative location can either be scanned into the Source Location field, or selected from the Location Selection drop-down. If an alternative location is not required, then press the
 button.
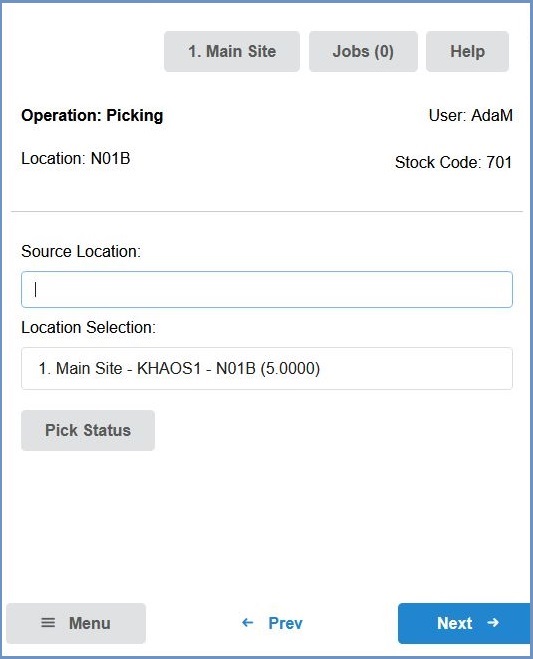
- A summary of the first item to be picked will be displayed and the item should then be scanned into the Stock Code field. Then press the
 button.
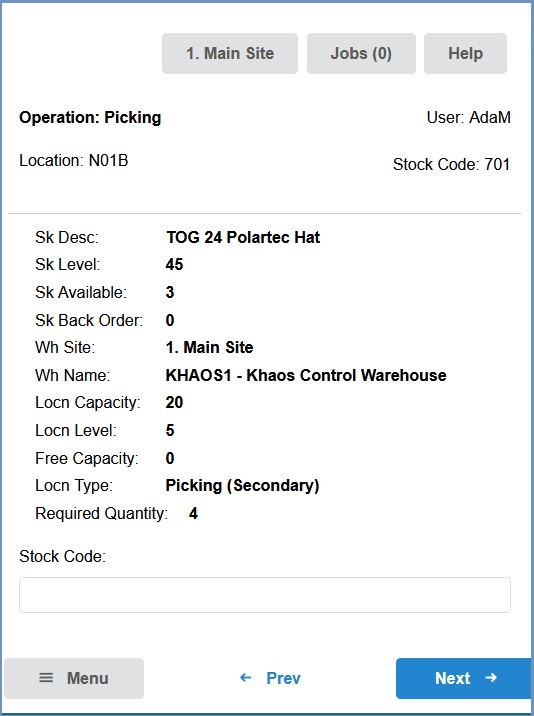
- The device will display the quantity of items to pick. Press the
 button.
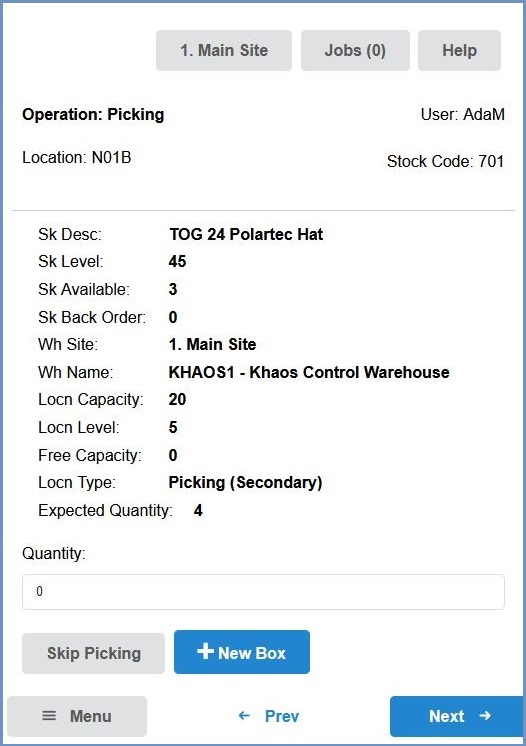
- A Tray Summary is then displayed which will show the Tray number that the item just picked is assigned to. Press the
 button.
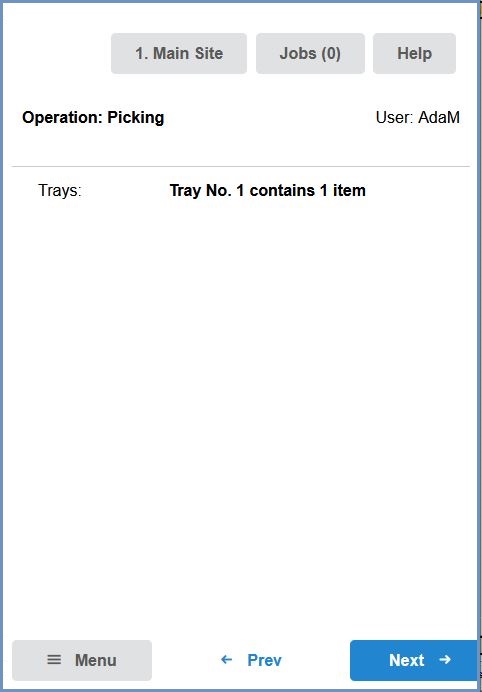
- If there are no further items to pick, a message will display in the Post screen saying the picking job is now complete. If the message does not display and there are further items to pick, click the
button and repeat the picking process as above. After the last item is picked the Post screen will display the Pick Complete message.
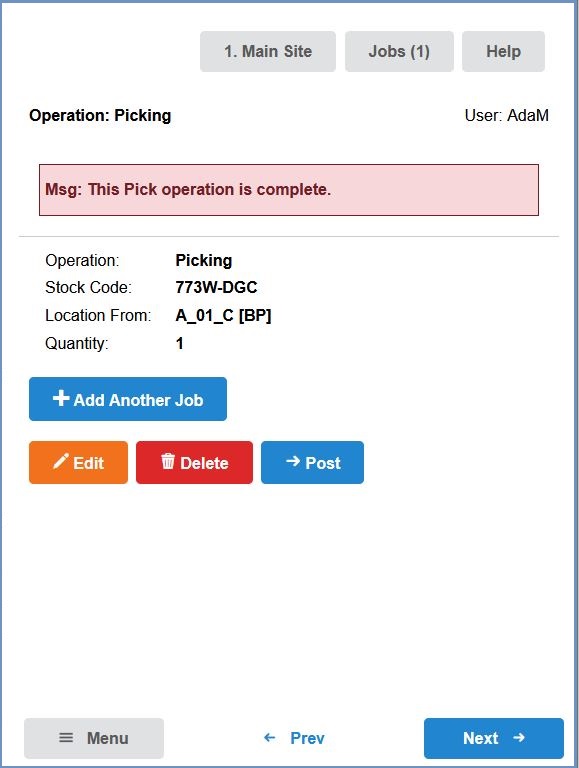
- To complete the pick job, press the
 button.
