How To: Pre-Printed Stationary - Setting the Stock Item Line Details to a Static Height
| | Basic Reports Setup is an Advanced User feature. |
This guide accompanies the page How To: Include Pre-Printed Stationery Paper in Reports for Emails and will explain how to set the sales order line information to a static height, as to not print over your pre-printed stationery.
Below are examples of:
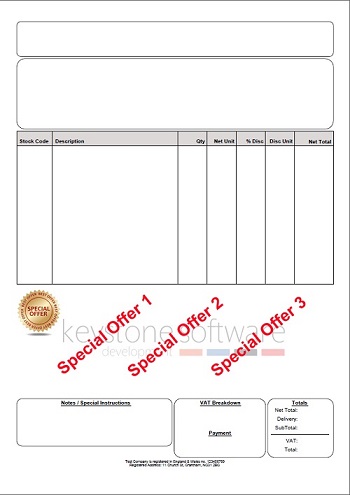
- Pre-printed stationery that has been scanned into the report builder designer
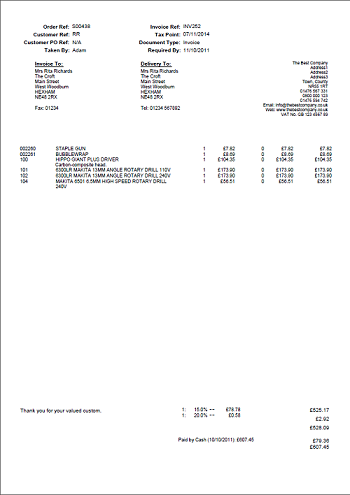
- The report produced by Khaos Control to print onto the pre-printed stationery
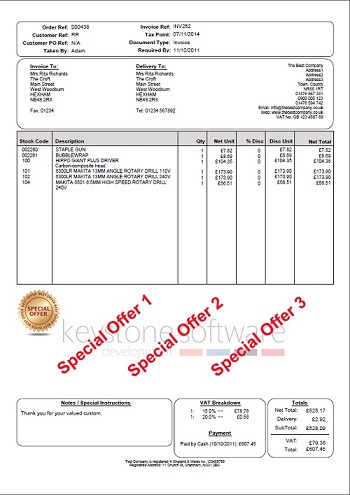
- The result of the two above being used together.
 12345678910
  12345678910
This design works perfectly for Sales Orders containing a relatively small number of item lines.
For Sales Orders that contain a large quantities of item lines, a setting must be applied to ensure that the details of the Sales Order do not print over the designated area of your pre-printed stationery.
Below are examples of:
- A large Sales Order.
- The line item details being printed over the pre-printed stationery design.
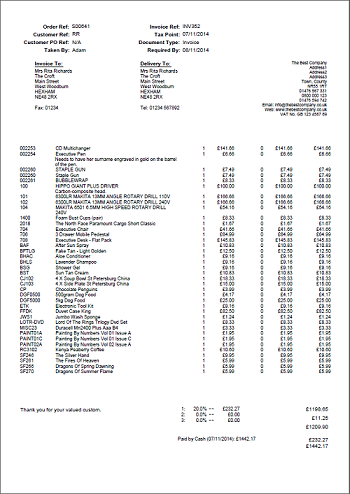 12345678910
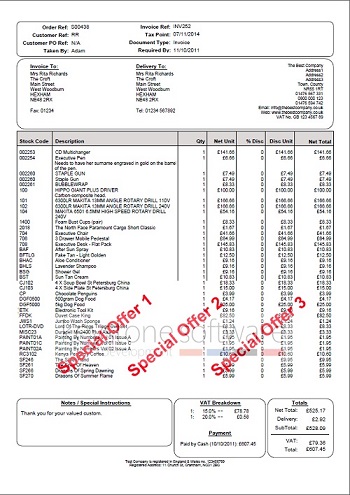
How to Set Stock Item Line Details Area to a Static Height
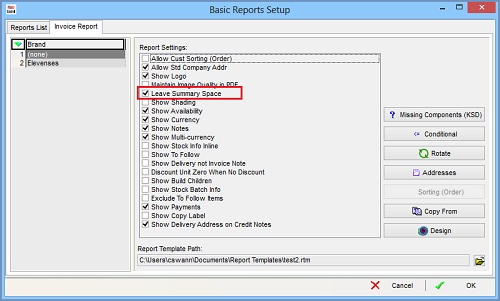
The setting that must be applied resides within the Basic Reports Setup Dialog.
- Open Basic Reports from System Operations - Basic Reports Setup to open the Report Designer Builder.
- Double click on Invoice Report and make sure you have selected the correct brand if using brands.
- The checkbox options that must be selected is "Leave Summary Space".
- Click on the
 button to open the Report Builder Designer.
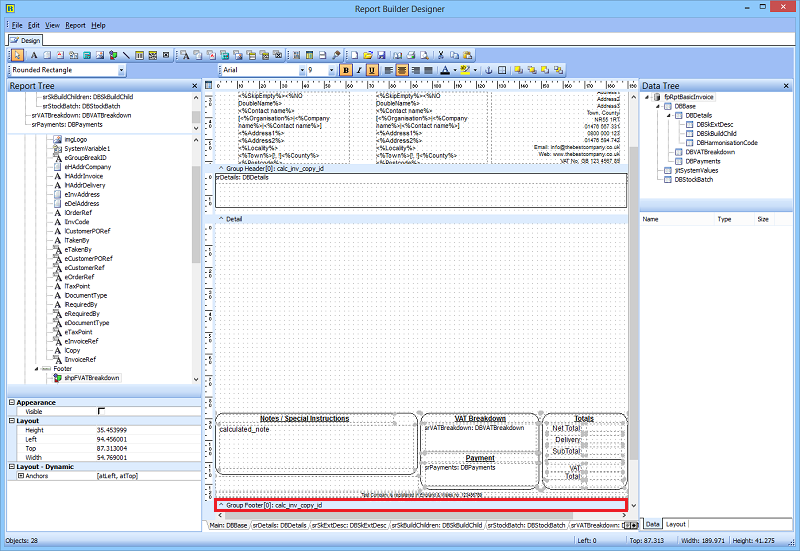
 - Drag the Group Footer Band down and move all of the object back to the bottom of the workspace.
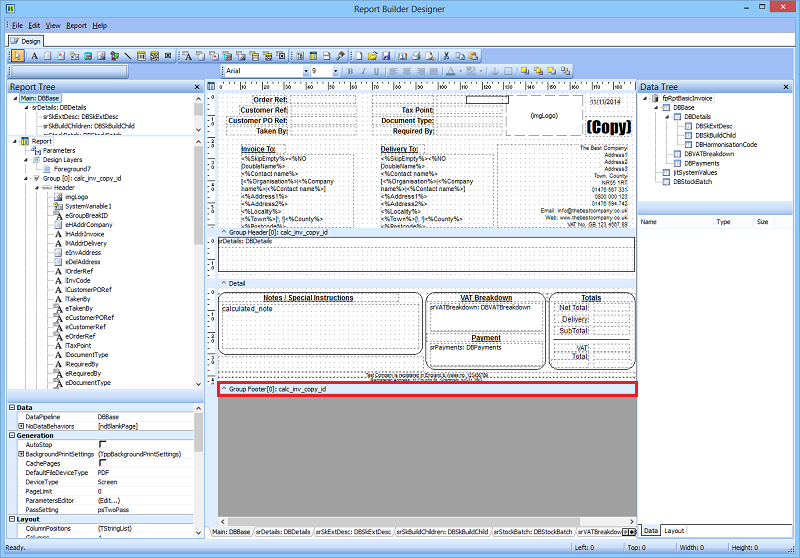
- The resulting white space will then affect the dynamic height of the Details band. Adjustments will be required to the height of this region to ensure the output matches the pre-printed stationery.
