System Operations - Basic Reports Labels Setup
| | Basic Reports Labels Setup is an Advanced User feature. |
Overview
In addition to Stock Labels the user also has the option to design their own bespoke stock labels via the Basic Reports Builder Designer, for an example see How To: Create Basic Report Stock Labels.
Once setup Customer labels can be printed from the following areas:
- Follow the menu route
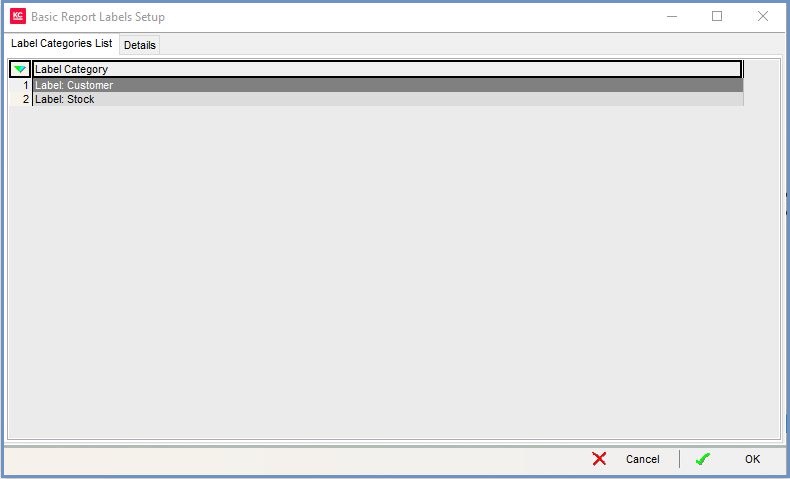
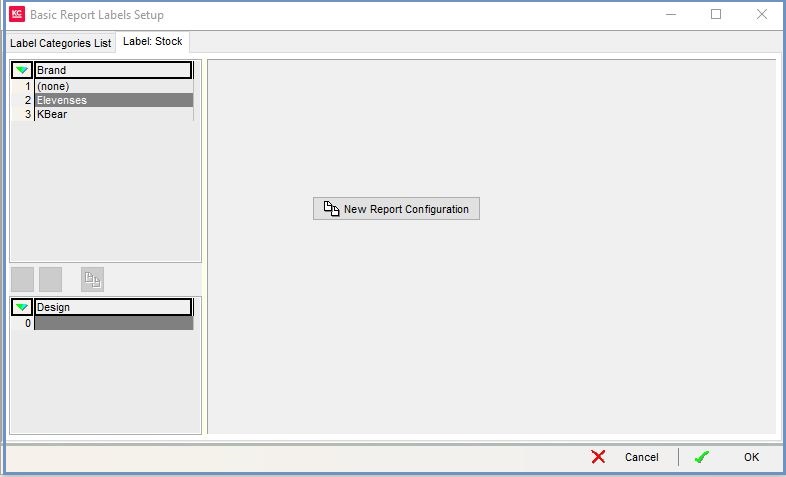
[ System Operations | Basic Reports Label Setup ]to open the 'Basic Reports Label Setup' dialog. - Double click on Label: Stock from the Labels Category List

- Select the Brand if relevant.
- Click on
 from the Details tab.
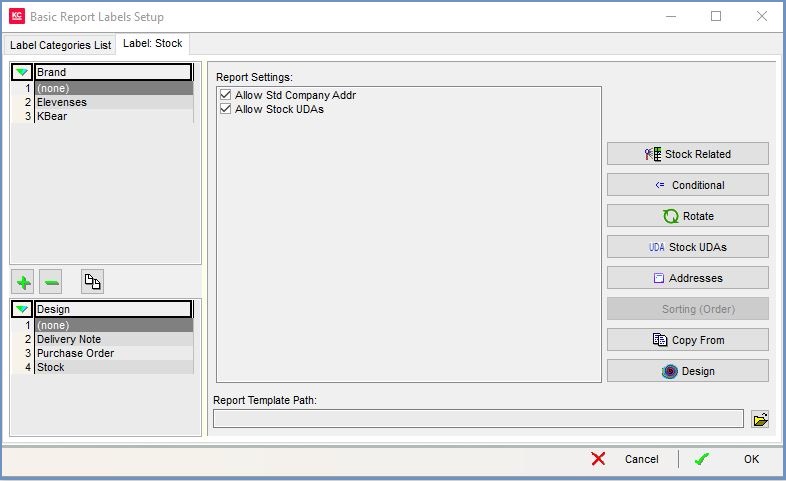
Note If the user wishes to include Stock UDAs in the Label design, checkbox Allow Stock UDAs must be ticked.
Action buttons
 : allows the user to define the default type of barcode for a pricelist. See System Data Stock: Barcode Type.
 : allows the user to define conditions against components so that they appear only when the conditions are met. For more information see Basic Reports - Setting Conditions.
 : allows memo boxes to be rotated, for example where an address label is used and needs to be vertical rather than horizontally aligned, see Basic Reports Setup - Rotate.
-
 : There are two options:
- Allows you to define the type of barcode as setup in
[ System Data | Stock | Barcode Type ]and then defined using the in the
 [ Stock | Detail | Properties ]screen. - Allows you to link a Price List to a stock label.
- Allows you to define the type of barcode as setup in
 : allows the user to include Stock UDA values in their reports.
 : allows the user to specify the address type to be used with the report, see Basic Reports Setup - Address Type.
 : allows the user to define the sort order for the report.
Note: only available on certain reports when the Allow Cust Sorting (Order) checkbox has been ticked.
  : copies the entire report setup from one brand to another branded report, see How To: Copy Basic Report Labels.
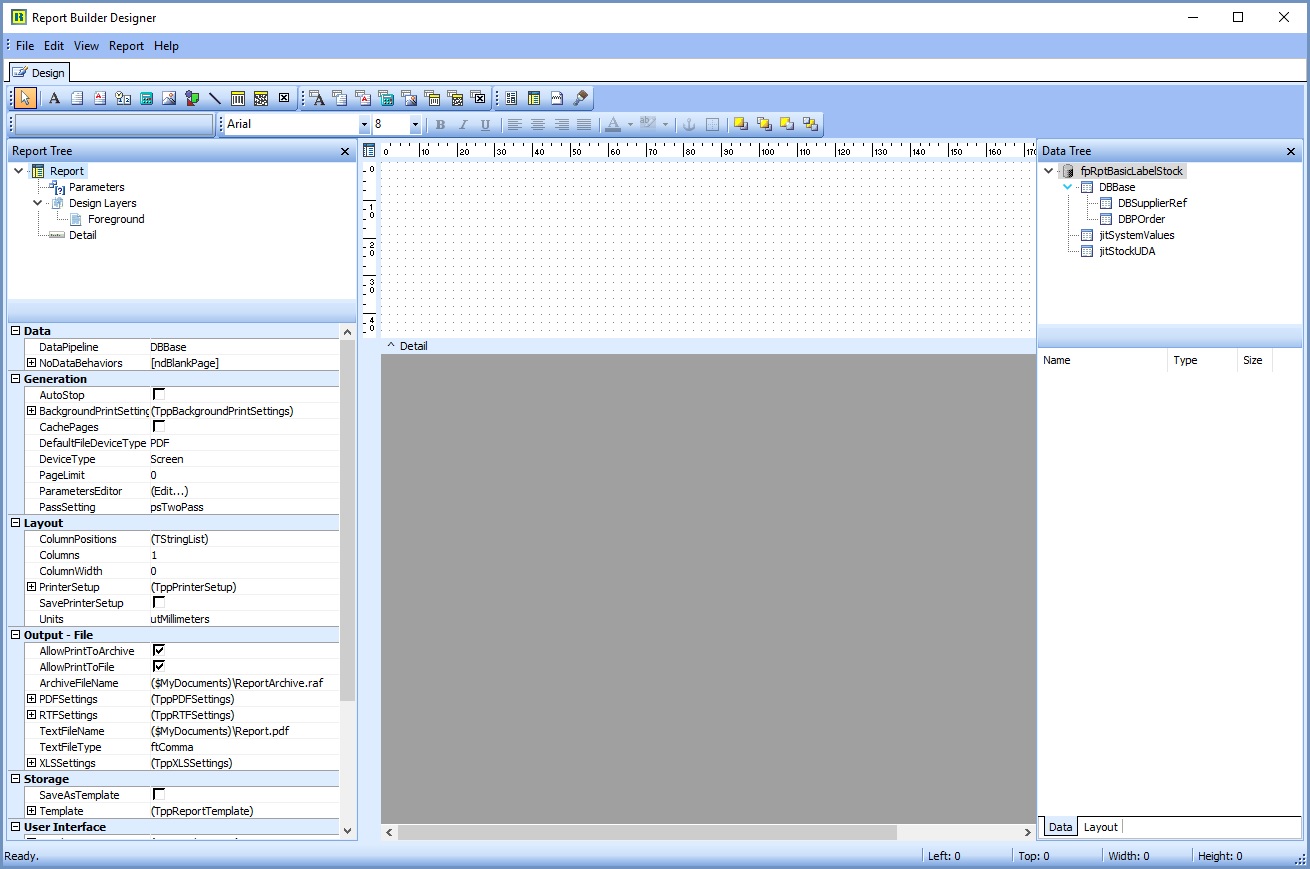
  : opens the 'Report Designer' screen where the user can change the report layout, add or remove fields, setup Addresses templates, etc. For examples of using the Report Designer.
Report template path
'Report Template Path': this is where the physical location of the template file is defined
Select the Brand if relevant and click ![]() to open the Report Builder Designer.
to open the Report Builder Designer.

