
How To: Cancel Invoice Allocations
The Cancel Invoice Allocations function ('Cancel Allocations') can be used with both Customer (Sales Ledger) and Supplier (Purchase Ledger) transactions.
The following instructions describe the procedure to be followed when you wish to unallocate payments that are currently linked with an invoice (should you wish to unallocate invoices currently linked to a payment, please refer to How To: Cancel Payment Allocations).
- Open a Customer screen, or Open a Supplier screen, as appropriate.
- Load the required customer/supplier.
- Click on the
[ Customer/Supplier | Detail | Statement ]tab. - Tick the 'Show All' checkbox, which appears immediately below the "Allocate To (Invoices)" grid (lower right).
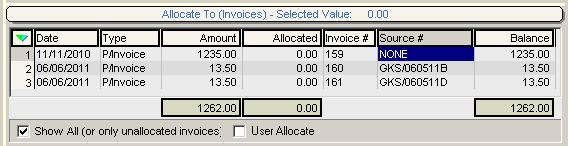
- Focus on the row containing the invoice to be unallocated in the "Allocate To (Invoices)" grid, or green-select one or more rows in the grid should you wish to unallocate multiple invoices.
- Right-click and from the Context Menu select 'Cancel Allocations'.
- Click on 'Yes' in the confirm popup "Remove ALL allocations from the selected item", if displayed.
- If you green-selected one or more invoices, a warning message "Multiple Items selected - Continue and Cancel ALL selected allocations?" will popup. Click on 'Yes' to continue.
Notes:
- The payment for the invoice that has been unallocated appears in the "Allocate From (Credit Notes, Invoices)" grid (top right).
- Users may need to tick the 'Show Archived' checkbox, which appears towards the top left of the Customer/Supplier Statement screen, to see allocated invoices.
- If more than one payment has been allocated to one invoice, when allocations are cancelled then ALL the allocations made against that invoice will be cancelled.